The 3D Printer essentially acts like an item shop or a crafting bench where you can get certain items by trading in a bunch of resources to get useful items. The 3D Printer can be accessed quite early on and is one of the first few places that you should try to visit to give yourself an edge over the many enemies in the game.
Before You Start: Having the Shovel and all the Keycards will help you reach every single 3D Printer Location on the map.
- There are four 3D Printer Locations in Sons of the Forest spread throughout the map.
- The first location can be found west of the crash landing site, southeast of a cave that holds the Rope Gun.
- The second location is in the Maintenance A Bunker, but you’ll need the Shovel to get to it. To get the Shovel, you’ll first need the Rope Gun and the Rebreather.
- The third 3D Printer location is in Maintenance B Bunker, and it also requires the Shovel.
- The final 3D Printer location is near the big lake on the east side of the island. You’ll need all the Keycards (Maintenance, VIP, and Guest Keycards) to get access to it.
- You can craft many items using the 3D Printer, and they all require a different amount of “Printer Resin.”
- You can make Arrows (50ml), Flasks (100ml), Red Masks (150ml), Grappling Hooks (100ml), Tech Mesh (250ml), and Sled (1000ml) with the 3D Printer.
- A 3D Printer initially has 850ml Resin, but you can acquire more by collecting cartridges spread near the 3D Printer at Points of Interest, or you can find new 3D Printers.
- You can also use a duplication glitch to get more Resin.
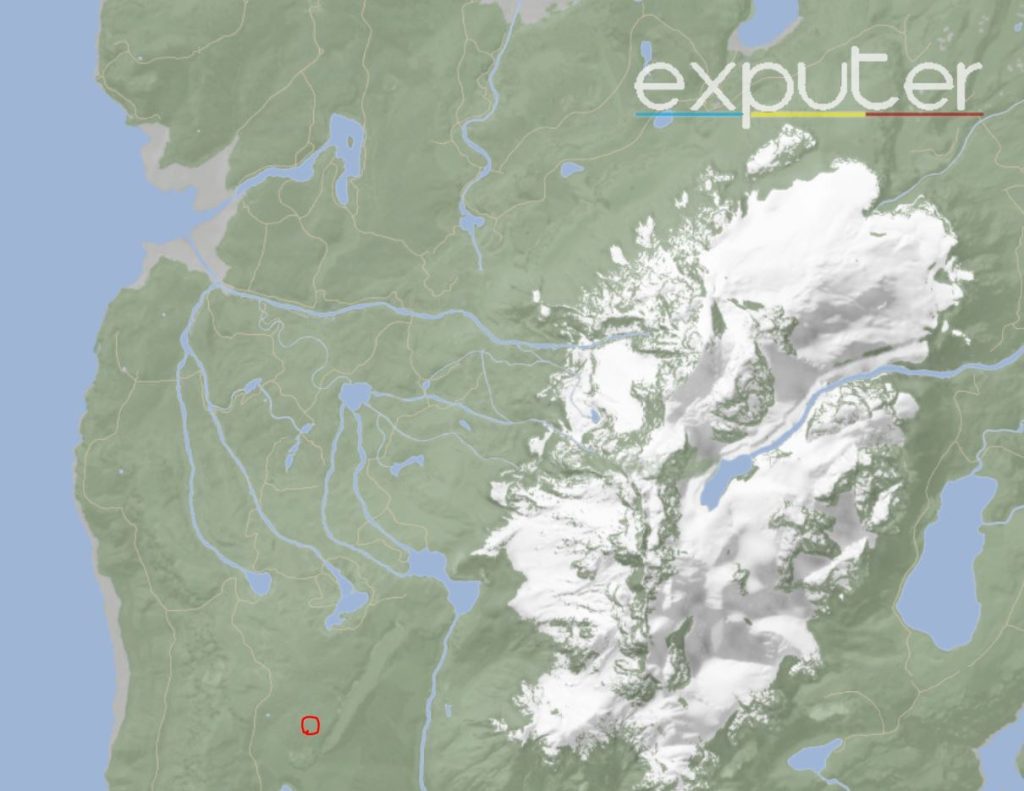
First 3D Printer – Cave
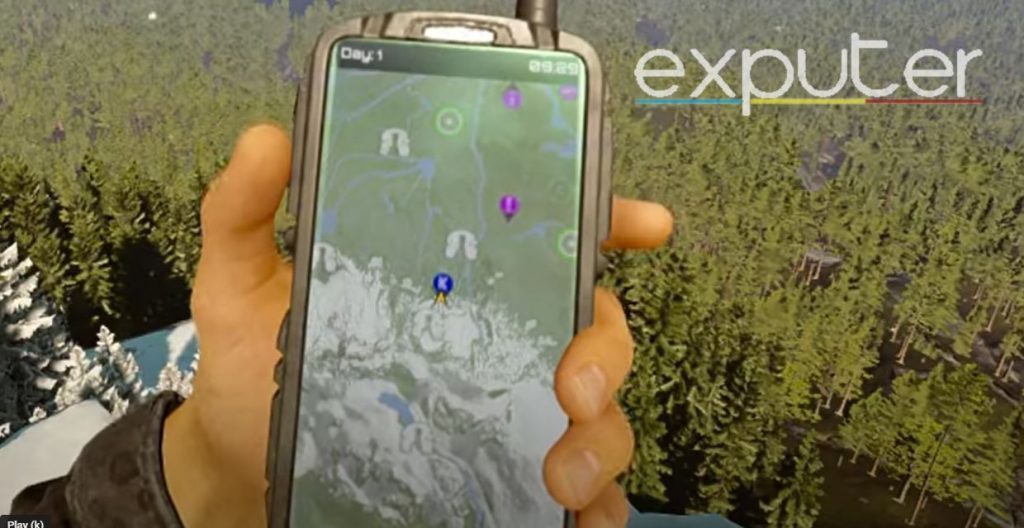
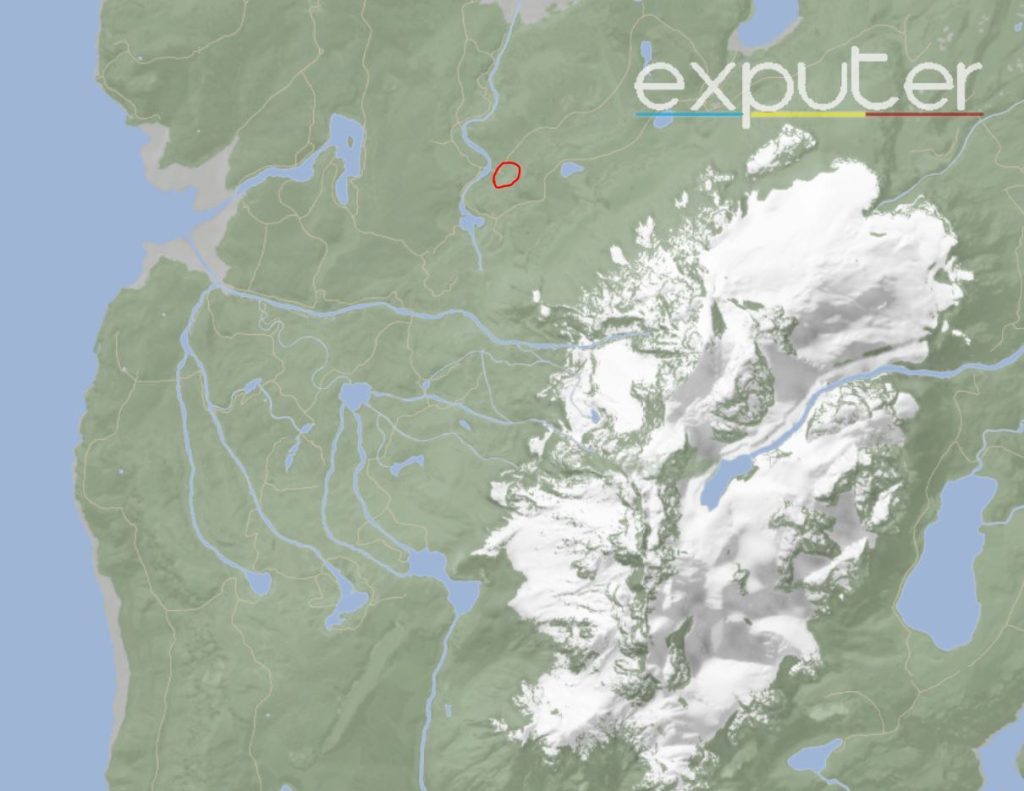
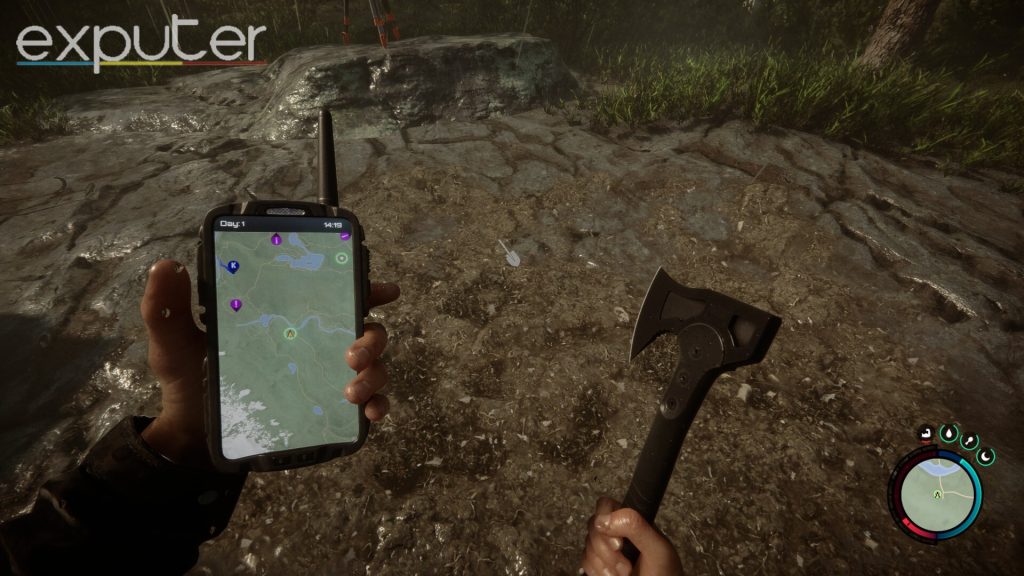
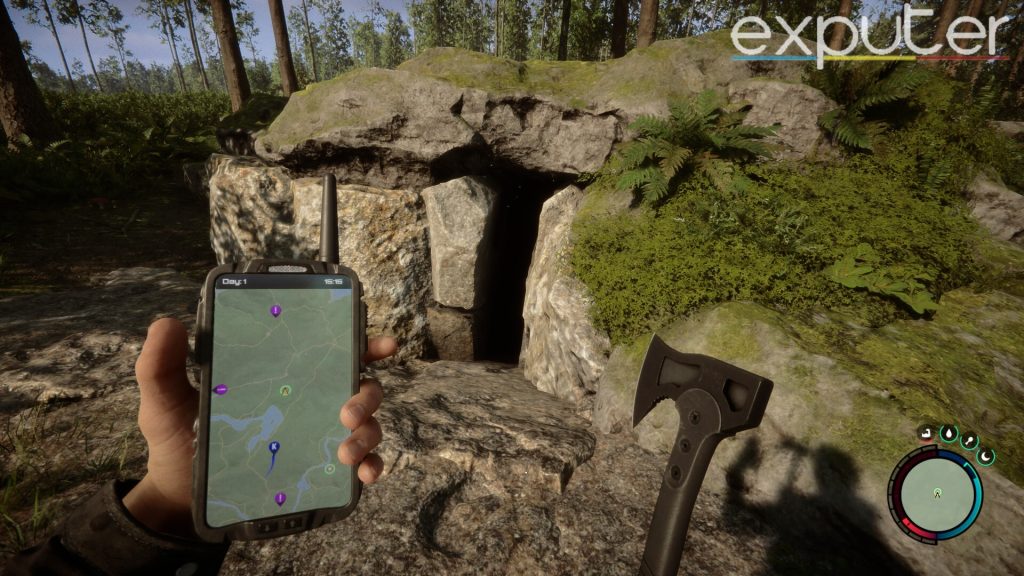
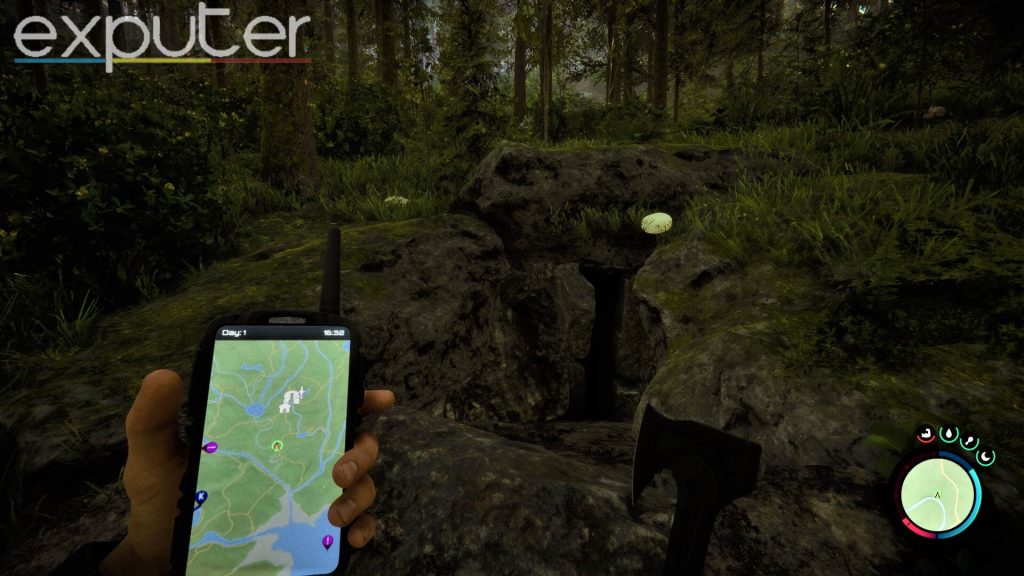
The 3D Printer is in between the snowy mountains and the ocean on the western side of the island. We can use the crash-landing site as our starting reference point to describe the location of the 3D Printer. If you open up your GPS and look towards the ocean, you should be able to spot a pulsating green circle (point of interest) on it.
For an even better reference, the 3D Printer will be near two caves. One of the caves is east of the 3D Printer, and the other one is southeast. The southeast cave is the closest to the 3D Printer, and it happens to be the same cave where you can find the Rope Gun, Cross, and a bunch of explosives.
When you approach the point of interest, you’ll know you’re close to the Printer when you spot a run-down golf cart nearby. Enter the cave that the point of interest leads you in, and just follow the path to find the 3D Printer. We’ll get into what you can craft with the 3D Printer in a section down below. But you can actually loot the same room with the 3D Printer to get useful resources and even Printer Resin which is needed for printing.
Second 3D Printer – Maintenance A Bunker
But for better reference, it is northwest of an Abandoned Camp and the location where you can find the Flashlight. If all these landmarks are confusing, you can simply head towards the green pulsating circle, which will already have the Maintenance A bunker marked as a point of interest.
Get The Shovel First
However, when you reach the location of the 3D Printer, you’ll need to use the shovel to dig up and reveal the door to the Maintenance A bunker. If you’ve already acquired the shovel, then you can go ahead and get inside the bunker and access the 3D Printer. However, if you don’t have the shovel, then we’ll briefly highlight how you can get it so that you can access the Printer.
Acquiring The Rope Gun
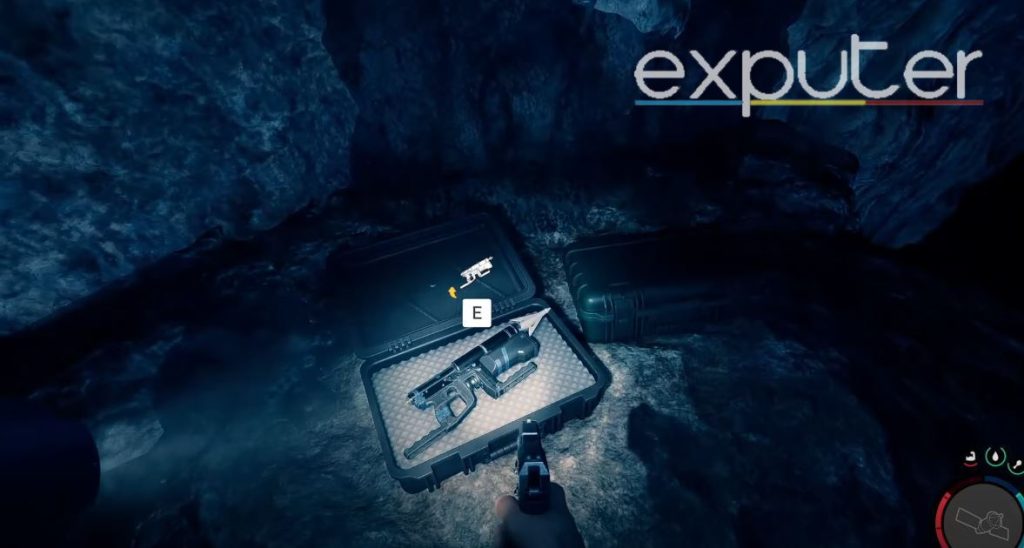
If you’re not properly equipped or that great at combat, then you’ll need to be quick on your feet, as there are many mutants inside the cave. Make your way through the linear cave to the point where you can find hanging skeletons. Nearby, you’ll find the rope gun. You can exit the cave through an unmarked exit, saving you the tedious trip of going back to where you came from.
Acquiring The Rebreather
The Rebreather can be found inside the northmost cave on the island. It is the same area where you’ll come across the Stun Gun. Similar to the last cave, you’ll need to make your way inside by cutting down a bunch of wooden planks. You’ll come across bones inside the cave which can actually be used to craft armor. While exploring the cave, you can find the Stun Gun on a hanging body.
You’ll need to go deeper into the cave to get to the rebreather. You’ll know you’re on track when you come across life jackets floating on water. Just follow the path laid out by the life jackets, and you’ll eventually come across the Rebreather.
Getting The Shovel
After you’ve got the Rope Gun and the Rebreather, you can finally get the Shovel. The cave where you’ll find the Shovel is directly east of the location of the first 3D Printer. Alternatively, it is west of the crash-landing site.
There will be around three dead bodies tied to wooden planks just outside the cave’s entrance. Inside the cave, follow the linear path. You’ll need to use everything that we acquired before attempting to retrieve the shovel. The Rope Gun will be used to get past large gaps, and the Rebreather will be used for the underwater sections. Eventually, you’ll come across the Shovel near the flashlight attachment as well.
After you’ve got the shovel, you can finally go to the location of the Maintenance A bunker. You can use the shovel to dig up the entrance and go inside, where you’ll find the second 3D Printer on the map.
Third 3D Printer – Maintenance B Bunker
Fourth 3D Printer – East Of Big Lake
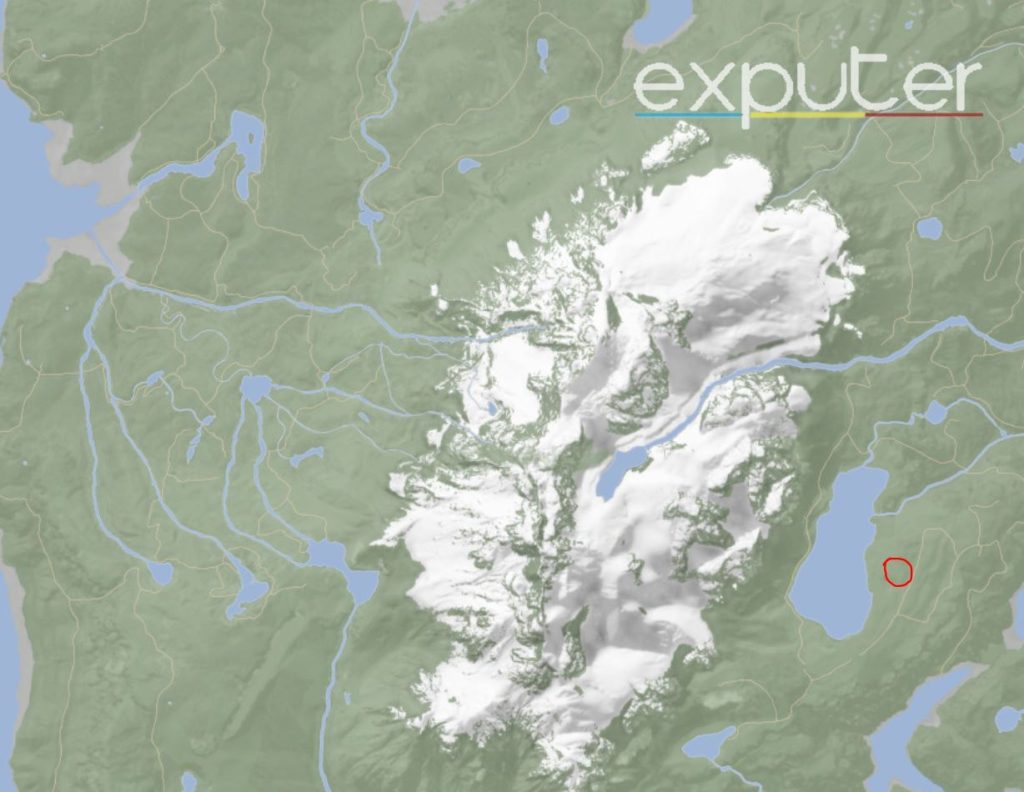
Getting inside won’t be that easy, as you’ll need to get all of the collectible keycards in the game to get access. Three different keycards can be found in the game. You need to attain the keycards in a certain order, as each card relies on the previous one. Here’s the order in which you should try collecting the keycards:
- Maintenance Keycard
- VIP Keycard
- Guest Keycard
Although we’ve thoroughly discussed the locations in our keycards guide, we’ll still give a general highlight of each of the locations here. If at any point you feel as if the information is limited or not quite detailed, you should definitely head over to our guide, which has in-depth directions and labeled map images for each of the locations.
Maintenance Keycard
You’ll need to head inside the Maintenance A bunker for the Maintenance Keycard. If you’ve been following our instructions and getting to the 3D Printers in the discussed order, you should already have the shovel needed to get inside the Maintenance A bunker. Once inside, you need to head down the hallway in the bunker and go through the first room on your right. You’ll find the keycard right next to the 3D Printer.
VIP Keycard
For the next keycard, the VIP Keycard, you’ll actually need to get the Maintenance Keycard before you can get to it. It is located in the northwestmost cave on the map (just southwest of the northmost cave on the map). While exploring the cave, look for a door with a blue panel at the far end of the kitchen area.
That door can only be accessed using the Maintenance Keycard. Get inside and explore the rooms until you reach the area with flooded rooms. You’ll need to explore the flooded rooms as well until you make your way to the security surveillance room, where you’ll find the VIP Card.
Guest Keycard
The final keycard can actually be found in a location that you might’ve already visited if you’re trying to gain access to all of the 3D printers. It is in the same cave as the first 3D Printer that we discussed (west of the crash site). From the room where you can find the 3D Printer, follow the corridor and look left towards a bright light.
There will be a hallway with a double door. You’ll need to use the VIP Keycard to get inside. There will be a gym inside but make your way through that and past a room full of saunas. Head up a bunch of stairs and into the pool room and the nightclub area. You’ll find the Guest Keycard on a table with dead bodies near it.
After you’ve acquired all of the keycards, you’ll be able to access the area that holds the final 3D Printer. Of course, reaching the other locations is totally optional. You can make do with a single location as every location and 3D Printer in them offer the same resources. The only added benefit is that you’ll be close to a 3D printer no matter which part of the map you’re in.
Craftable Items Using The 3D Printer
Here are all the items craftable with the 3D Printer:
| Item | Cost (Printer Resin) | Use |
| Arrow | 50ml | As ammo for your bows |
| Flask | 100ml | Used for carrying fresh water with you |
| Red Mask | 150ml | Can alter the way the cannibals behave and react to you |
| Grappling Hooks | 100ml | Used for creating Ziplines with the rope |
| Tech Mesh | 250ml | Material needed to craft the Tech Armor. |
| Sled | 1000ml | It can be used for going downhill |
Arrows
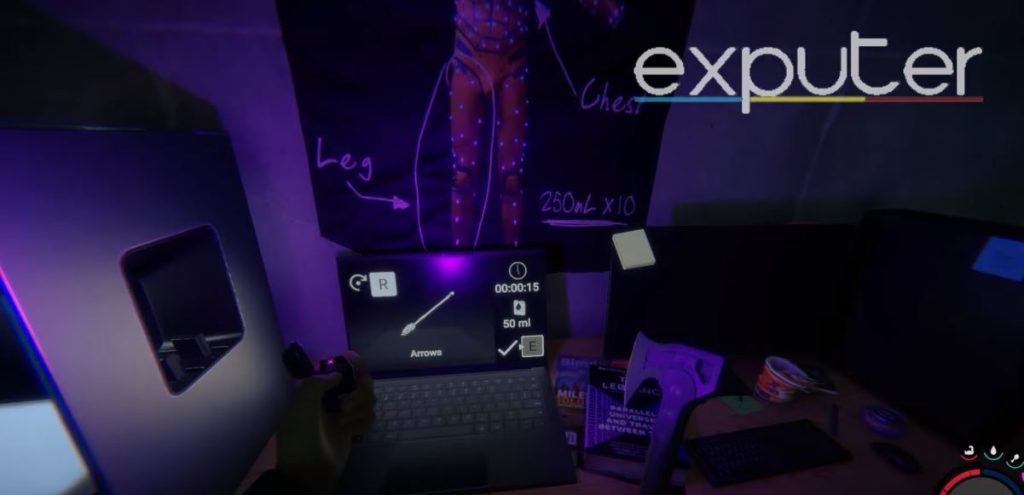
Using 50ml of Printer Resin, you can acquire five arrows. That’s a decent amount of arrows, especially if you’re in a tough spot. However, there are many other ways to acquire arrows, so using the 3D Printer for the arrows might not be a great choice. You can acquire arrows using rocks, sticks, and feathers. Two of these resources can be gathered by Kelvin alone. You can also grab arrows as loot which is spread throughout the world as well.
Flask
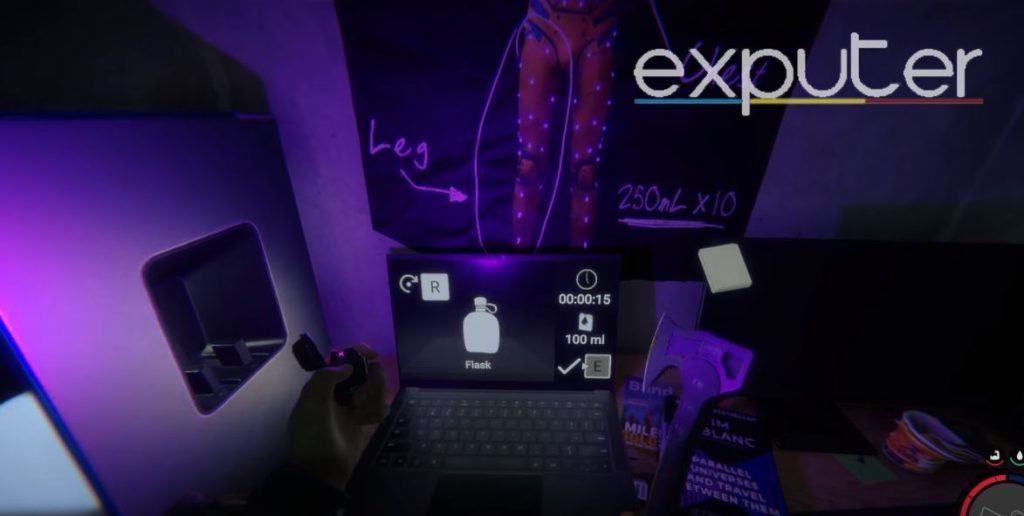
You can only carry one flask at a time, so you’ll likely only need to craft a single water flask for your entire playthrough, as long as you don’t lose it. The flask requires 100ml of Printer Resin, which can be acquired through a single cartridge of Printer Resin. It’ll definitely come in handy while exploring areas far away from any fresh sources of water or during combat in areas like caves.
Red Mask
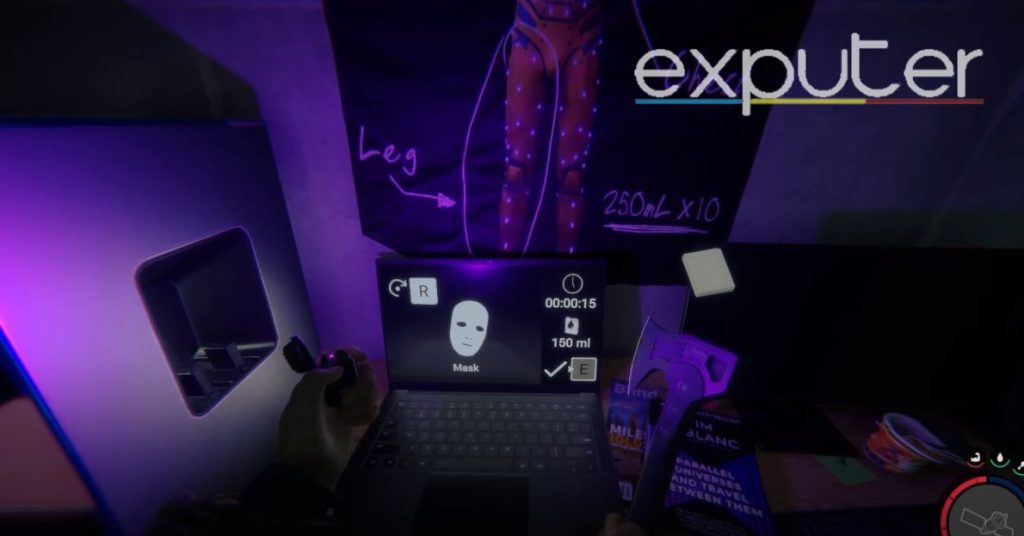
The cannibals are split into many categories, such as the Blind Cannibals, Regular Cannibals, Brutes, and, more importantly, Masked Cannibals. The Masked Cannibals tend to be treated with more respect, and they seem to be more feared by the other cannibals. And if you acquire a mask, the cannibals in the game will treat you the same.
There are two types of masks in the game one is the Gold Mask and the other is the Red Mask. The Red Mask can be crafted at the 3D Printer by using 150ml Resin. With the mask, you’ll be able to reduce the cannibals’ hostility and, in some cases, even make them fear you.
Grappling Hook
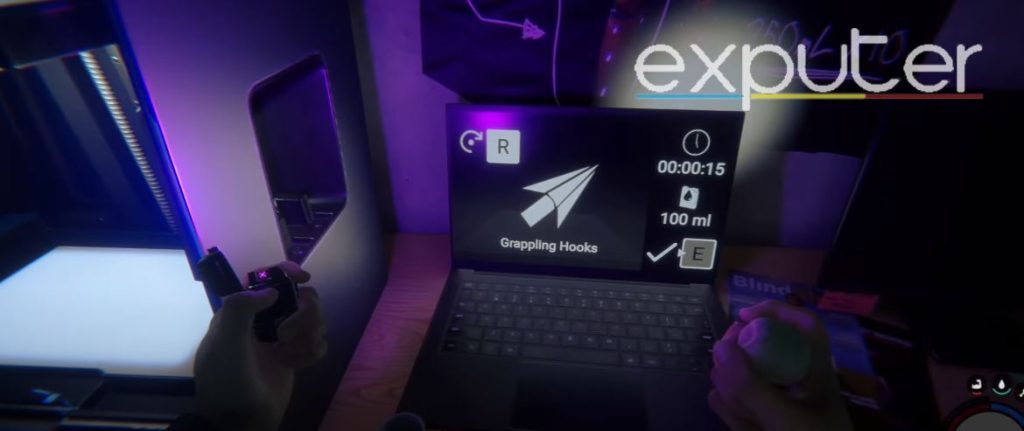
In conjunction with the Rope Gun, you can actually use the Grappling Hooks. They can also be combined with a rope to create a Zipline Rope as well. Regardless of how you choose to use the Grappling Hooks, you can acquire them for 150ml Resin at the 3D Printer.
Tech Mesh
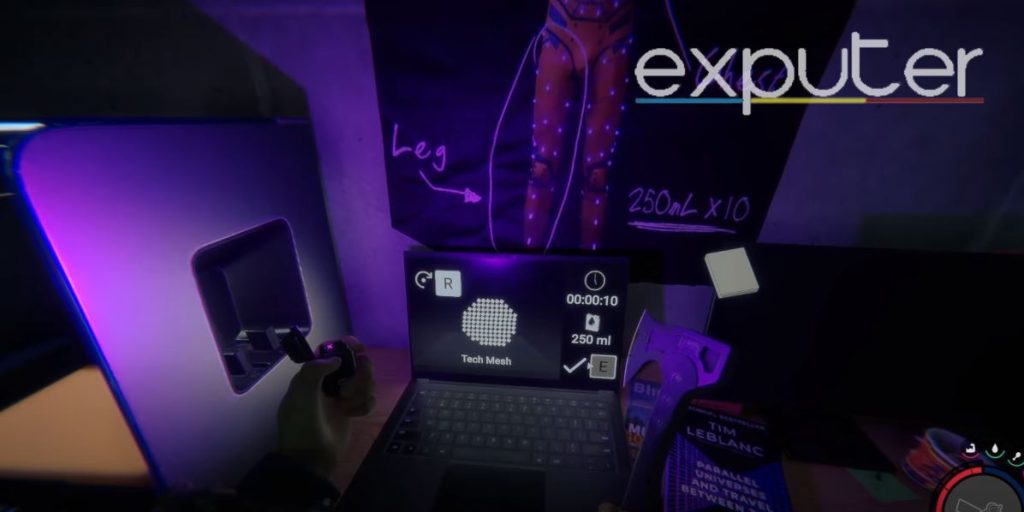
One such armor set is known as the Tech Armor. It is quite useful in defending you from enemies, and the materials needed to craft it are readily available. But one vital resource that you need for the creation of the Tech Armor is the Tech Mesh, which can only be acquired through the 3D Printer. With just 250ml Resin, you’ll be able to get Tech Mesh and use it for your armor.
Sled
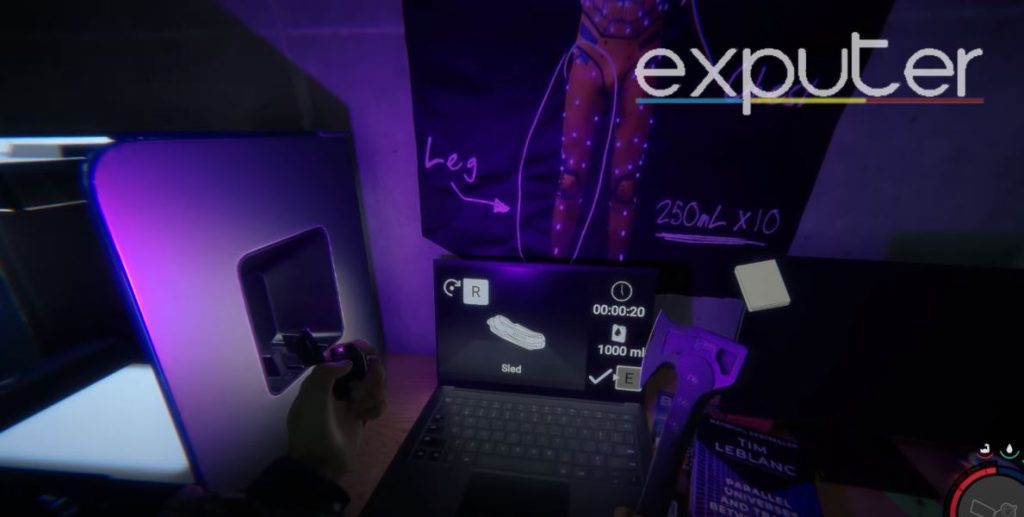
The Sled is the most expensive item that you can craft using the 3D Printer. It costs 1000ml Resin. That might seem like a lot, but many of the printers start off with 850ml Resin; you just need 150ml more. So, if you just find a new 3D printer and carry a few cartridges to it, you should be able to craft the Sled with ease.
Ending Thoughts
If, for some reason, you’re running out of Printer Resin despite the discussed methods, then there is a sort of cheese method that can help you get more of it. To understand the method, you first need to understand the basic workings of how items respawn in the game. Each time you reload into the world, items will be respawned at their original locations. The feature is included to ensure that you’re never missing out on useful items or running out of resources. But it can also be used to get an almost infinite amount of Printer Resin.
The setup requires you first to find a location that has Printer Resin in it. It can be any of the locations that we discussed earlier, such as locations of 3D printers or points of interest. Once there, set up a shelter or some sort of save point around the general location.
From here onwards, all you need to do is acquire the Printer Resin from the location, go back, respawn, and then go inside again to get the Printer Resin again. Rinse and repeat until you have a sufficient amount. And if you ever run out of Printer Resin again, you can reuse the method next to any other location.
That is essentially the basic gist of acquiring the 3D Printer. Of course, there are many other things for you to uncover in the game. You can also try to speedrun the game using our described methods. Or you can get the magnum to help defend yourself from multiple enemies. Alternatively, you can learn about the best axe in Sons of the Forest, such as the firefighter axe.
Next:
- Sons Of The Forest All Endings & How To Get
- How To Stop Sons of The Forest Crashing
- Sons Of The Forest: How To Find Pistol & Attachments
- Sons Of Forest Turtle Shells: How To Get & Uses
Thanks! Do share your feedback with us. ⚡
How can we make this post better? Your help would be appreciated. ✍