Guides
eXputer presents Game Guides that are written by players who actually play the game. Our Game Guides cover in-depth analysis, settings, tier lists, error fixes, locations, best guides, and many more.
For further in-game assistance, you can subscribe to the eXputer Guides Channel.
Games Released
Gaming Guides we have covered so far, the entire schedule sorted by release date.-

World of Warcraft Patch 12.1: Everything We Know About Curse Of Ula’tek
World of Warcraft Patch 12.1, Curse of Ula'tek, arrives in late 2026 with a new zone, eight-boss raid, Lairs, expanded Delves, and Season 2.
-

League of Legends: Ranks And Ranking System Explained
Learn League of Legends ranks with a clear guide to tiers, LP, MMR, rank distribution, decay rules, and how to climb the ranked ladder.
-
Forza Horizon 6: Getting Started With Credits
Like its predecessors, credits are a valuable commodity in Forza Horizon 6, but the tricky part isn't the budget, it's what to buy first.
-
CS2: Best AK-47 Skins At Every Budget [$1-$10,000]
As the most iconic weapon in CS2, the AK-47 has a massive collection of skins at its disposal, but choosing the best one requires hunting.
-
CS2: How To Organize Group Case Battles And Split Rewards
Case battles are a growing trend in the CS2 world, and learning how to organize them in a group can lead to a healthy, engaging competition.
-
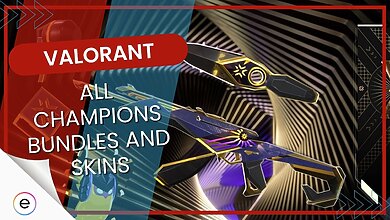
Valorant: All Champions Skins Ever Released [2021-2025]
This guide discusses all the Champions skins and bundles released for Valorant, detailing their cosmetics, effects, pricing, and success.
-
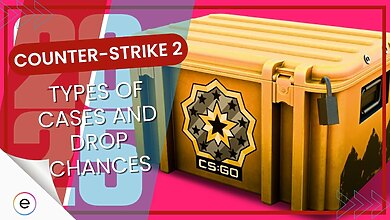
CS2: Complete Guide To Cases In 2026 [Types, Drop Rates, And More]
This guide explains what CS2 cases are, how different case types work, the drop-rate breakdown, and availability on third-party platforms.
-
Roblox Best PC Settings To Increase FPS And Maximize Performance
This guide shows the various in-game, windows-level, and driver-level settings you can change to get an increase in your FPS in Roblox.
-
FIXED: How To Recover Lost Game Data On Windows PC [All Solutions]
If you've lost important game data on a Windows PC, there are a number of fixes you can try to recover it before starting a fresh save.
-
Battlefield 6: Best Loadouts In Each Class For Laser Accuracy
This article breaks down the best Battlefield 6 loadouts for laser accuracy and mimicing aimbot-level precision in each class,
-
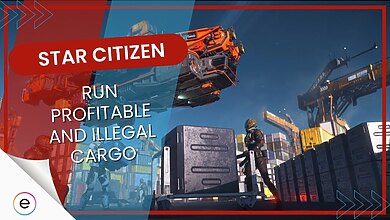
Star Citizen: How To Run Profitable And Illegal Cargo
This article covers illegal cargo running in Star Citizen, exploring risks, rewards, top drugs, trade hubs, and smuggling strategies.
-
CS2: 5 Most Feared AWPers That Pros Can’t Beat [2025]
This guide covers the five best AWPers in the CS2 pro scene in 2025, covering each player's techniques and esports history.
-
World Of Warcraft: How To Make Tons Of Gold With Alts
Making alts or alternate characters in World of Warcraft (WoW) gives you repeatable opportunities to farm gold through earnable activities.
-
Beginner’s Guide to Farming Simulator 25: 10 Tips You Need to Know
This article discusses the best tips for beginners in Farming Simulator 25 which they can use to make decent income with minimal effort.
-
Minecraft: What Are Minecraft Coins and How To Use Them
This article details what Minecraft Coins are, what they're used for, and how players can obtain them for purchasing items in Minecraft.
-
Razer Gold And Silver: How To Quickly Stack Rewards
This guide details how to stack rewards with Razer Gold and Silver, which are virtual currencies for buying digital and physical items.
-
How to Make a Roblox Game – Quick Tutorial in Minutes
Want to create your own Roblox experience? This in-depth guide explains how to make a Roblox game in a few minutes using Roblox Studio.
-
Path of Exile: The Best Unique Armors
This guide details the best unique armor sets, including body armor, boots, suits, and more, that you can equip in Path of Exile.
-
Marvel Rivals: Everything We Know About Season 2
This guide details everything revealed so far regarding Marvel Rivals Season 2, including the new characters, balancing, theme, and more.
-
World Of Warcraft: 4 Ways To Securely Get Gold
This article details the best ways to gold, the primary currency for buying, selling, and trading, in World of Warcraft.